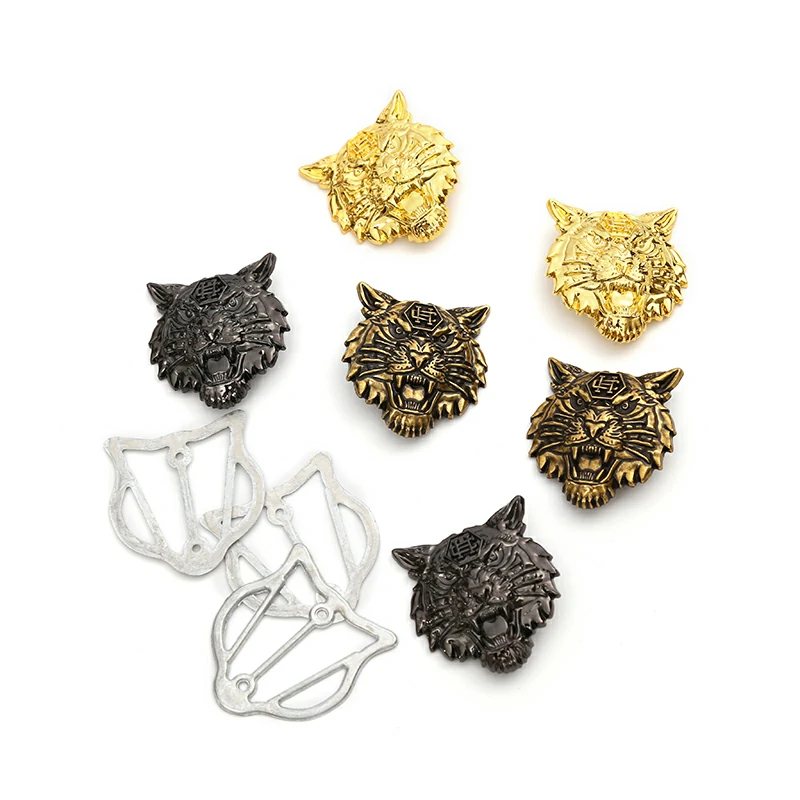
There are several common attachment methods for metal tags on clothing items. The choice of attachment method depends on factors such as the type of clothing, the desired look, and the durability required.
Here are some common attachment methods:
Sewing: Sewing is a traditional and versatile method of attaching metal tags to clothing. Small holes or slits are made in the clothing item, and the tags are sewn onto the fabric using thread or thin metal wires. This method provides a secure attachment and allows for flexibility in tag placement.
Rivets: Rivets are metal fasteners that are commonly used to attach metal tags to clothing, particularly denim or leather garments. A rivet consists of a cylindrical metal shaft with a head on one end and a tail that is deformed to secure it in place. The rivets are inserted through the tag and fabric and then deformed using a rivet setting tool, creating a permanent attachment.
Adhesive Backing: Some metal tags come with adhesive backing, allowing for easy and quick attachment. The adhesive is typically a strong, industrial-grade adhesive that bonds the tag to the fabric. This method is suitable for lightweight clothing items or situations where sewing or riveting is not preferred.
Snap Buttons: Snap buttons, also known as press studs or snap fasteners, can be used to attach metal tags to clothing. The tag is typically equipped with a male or female snap button component, and a corresponding component is attached to the fabric. The two components snap together, creating a secure attachment. Snap buttons are commonly used for detachable or interchangeable tags.
Safety Pins: Safety pins can be used to attach metal tags to clothing temporarily or for a more casual aesthetic. The tag is attached to the clothing item by passing a safety pin through the fabric and the tag’s attachment hole. This method allows for easy removal and reattachment.
Eyelets: Eyelets are small metal rings that are used to reinforce or create attachment points on fabric. They can be used to attach metal tags to clothing items by inserting the tag’s attachment hole through the eyelet and securing it in place. Eyelets provide a durable and visually appealing attachment method.
When choosing an attachment method, consider factors such as the fabric type, desired permanence, ease of attachment, and the overall design and functionality of the clothing item. It’s important to ensure that the chosen method is compatible with the fabric and does not cause damage or compromise the garment’s integrity.
Can you provide more information on how to properly sew metal tags onto clothing items?
Certainly! Sewing metal tags onto clothing items can provide a secure and durable attachment.
Here are some steps to properly sew metal tags onto clothing:
Positioning: Determine the desired location for the metal tag on the clothing item. Mark the placement using fabric chalk or a washable fabric marker. Ensure that the placement is aligned and centered according to your design or branding requirements.
Thread Selection: Choose a strong and durable thread that matches the color of the fabric or complements the metal tag. Polyester or nylon threads are commonly used for their strength and resistance to wear.
Needle Selection: Select a needle appropriate for the fabric type and weight. For medium-weight fabrics, a universal or medium-sized needle should work well. metal tags with logo for clothing For heavier fabrics, such as denim or leather, a heavy-duty or leather needle may be required.
Thread Preparation: Thread the needle and tie a knot at the end of the thread. Double-threading the needle may provide extra strength and security for the attachment.
Tag Placement: Hold the metal tag against the marked location on the fabric, aligning the attachment holes with the placement marks. Ensure that the tag is positioned straight and centered.
Stitching Technique: Start sewing from the backside of the fabric to hide the knot. Insert the needle through one of the attachment holes on the metal tag, passing it through the fabric from the back to the front. Take a small stitch to secure the tag in place.
Stitching Pattern: Choose a stitching pattern that suits your preference and the desired look. Common stitching patterns include straight stitches, X-shaped stitches, or square stitches around the attachment holes. Ensure that the stitches are evenly spaced and tight enough to secure the tag firmly.
Reinforcement: For added durability, consider sewing around the attachment holes multiple times or reinforcing the stitches by sewing a square or cross pattern around the tag. Reinforcement helps distribute the stress and prevents the tag from becoming loose over time.
Finishing: Once you have completed the stitching, tie a secure knot on the backside of the fabric. Trim any excess thread, leaving a small tail for added security. If desired, you can apply a small amount of clear fabric glue or fray check to the knot to prevent it from unraveling.
Quality Check: After attaching the metal tag, gently tug on it to ensure that it is securely fastened. Check for any loose threads or signs of weakness in the attachment. Make any necessary adjustments or reinforce the stitching if needed.
It’s important to practice sewing metal tags on scrap fabric or test pieces before attaching them to the actual clothing items. This allows you to refine your technique and ensure that the attachment is neat and professional-looking.

